→ Step-by-step guide for creating a GPU-supported TensorFlow environment in Docker with Ubuntu.
In the last article, I showed you how to install PyTorch with GPU support in Docker. Now, it is time for TensorFlow. If you want to learn and create some cool stuff with Deep Learning, you have to be familiar with these two frameworks. TensorFlow is better when you want to run your model on mobile devices and the web. For PyTorch, there is a lot more. Just check the SOTA deep learning algorithms; they are all implemented with PyTorch. So, both these frameworks are important, and creating a GPU-supported environment is important for you to use and understand these libraries.
How to Install TensorFlow with GPU Support in Docker
Some steps are identical to PyTorch installation, but there are a few differences. Let's start.
But before starting, let me show you my setup:
-
Ubuntu 22.04
-
NVIDIA GeForce GTX 1660 Ti Max-Q
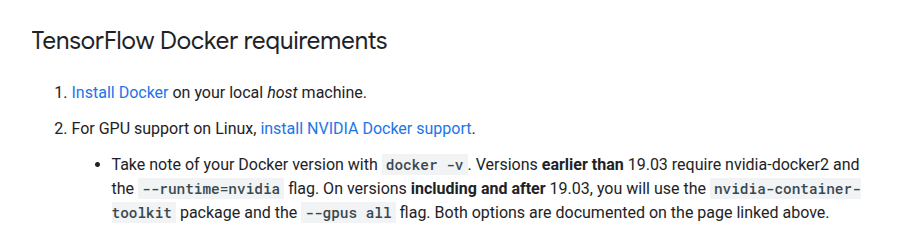
Requirements to Install TensorFlow with GPU Support on Docker
You might have different operating systems or GPUs, but you can still continue. You just might need to change some versions when needed.
-
Update the System and Install the Drivers
-
Install Docker Engine
-
Install NVIDIA Container Toolkit
-
Run the GPU-supported TensorFlow Container
-
**Create a Workspace
**
By the way, I already have an article about how to create a GPU-supported Anaconda environment; you can follow that too.
Update the System and Install the Drivers
Since we want to create GPU supported environment, we need to have GPU drivers. I already have installed on my system.
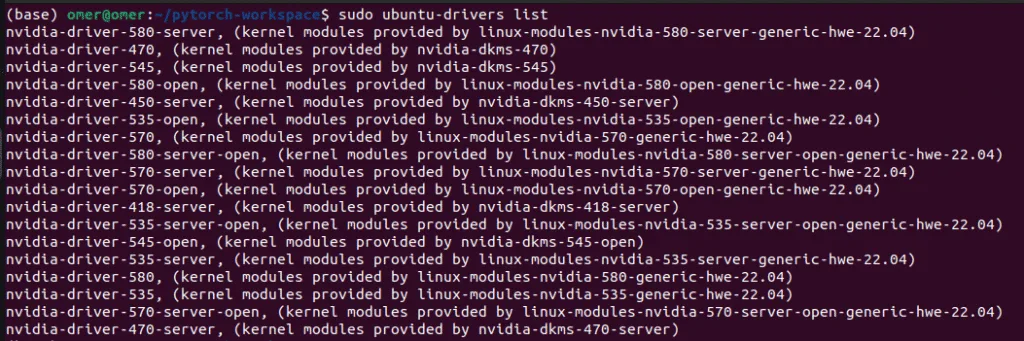
Install GPU Drivers
You can install drivers using the following command:
sudo apt update
sudo ubuntu-drivers install
If you want specific drivers, you can add the driver name and version to the command, like below, for example, for version 535:
- sudo ubuntu-drivers install nvidia:535
If you just installed the drivers, you need to reboot your system. You can do it manually or use this command, and don’t forget to save the link to this article, so that you can continue after 20 seconds 🙂
sudo rebootOkay, now you have to verify that drivers are installed and the system can recognize them. You can use the nvidia-smi command for that:
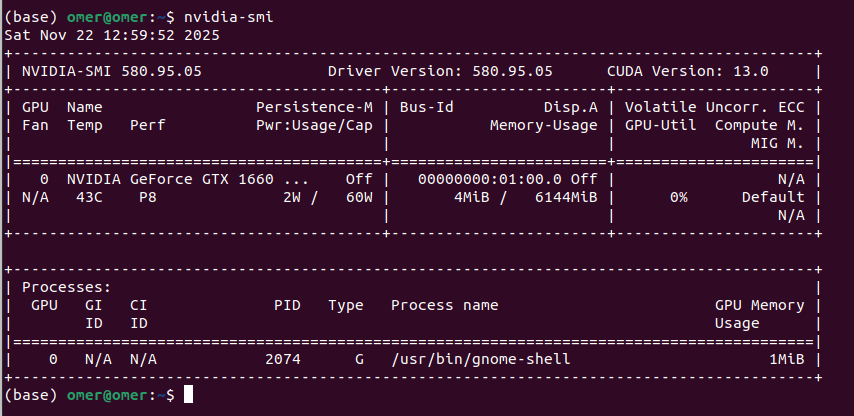
Nvidia Drivers Installed on ubuntu, example CUDA versions: 11.8, 12.1, 12.3, 12.6, 12.9, 13.0
2. Install Docker Engine
I saw other options for this step, but I will stick with Docker’s official repository. First, we need to set up Docker’s APT repository. Open a terminal and paste the following lines:
# Add Docker's official GPG key
sudo apt-get update
sudo apt-get install ca-certificates curl
sudo install -m 0755 -d /etc/apt/keyrings
sudo curl -fsSL https://download.docker.com/linux/ubuntu/gpg -o /etc/apt/keyrings/docker.asc
sudo chmod a+r /etc/apt/keyrings/docker.asc

# Add the repository to Apt sources
echo \
  "deb [arch=$(dpkg --print-architecture) signed-by=/etc/apt/keyrings/docker.asc] https://download.docker.com/linux/ubuntu \
  $(. /etc/os-release && echo "$VERSION_CODENAME") stable" | \
  sudo tee /etc/apt/sources.list.d/docker.list > /dev/null
sudo apt-get update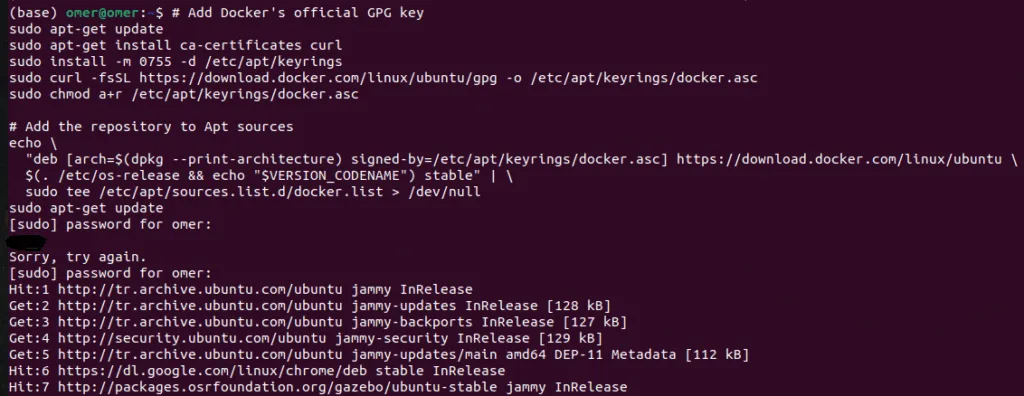
Set up Docker’s APT repository
Now, lets install the Docker Engine.
sudo apt-get install docker-ce docker-ce-cli containerd.io docker-buildx-plugin docker-compose-plugin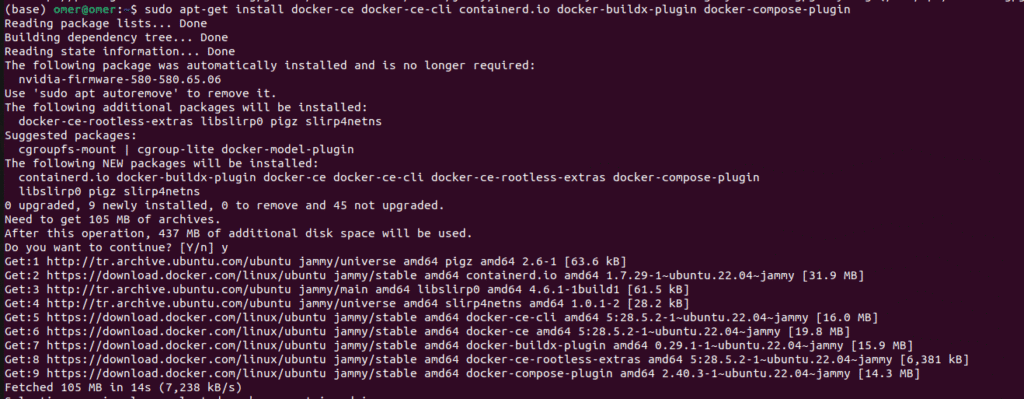
Install Docker Engine
This step is quite important: you need to add your user to the Docker group. This allows you to run Docker commands without sudo. After this step, you need to reboot again; otherwise, you will get errors in the next steps.
sudo usermod -aG docker $USERreboot3. Install NVIDIA Container Toolkit
This is some kind of bridge; this step connects Docker with your Nvidia Drivers.
Add the NVIDIA Container Toolkit repository:
curl -fsSL https://nvidia.github.io/libnvidia-container/gpgkey | sudo gpg --dearmor -o /usr/share/keyrings/nvidia-container-toolkit-keyring.gpg \
&& curl -s -L https://nvidia.github.io/libnvidia-container/stable/deb/nvidia-container-toolkit.list | \
  sed 's#deb https://#deb [signed-by=/usr/share/keyrings/nvidia-container-toolkit-keyring.gpg] https://#g' | \
  sudo tee /etc/apt/sources.list.d/nvidia-container-toolkit.list
NVIDIA Container Toolkit Repository
Now, lets install the toolkit:
sudo apt-get update
sudo apt-get install -y nvidia-container-toolkit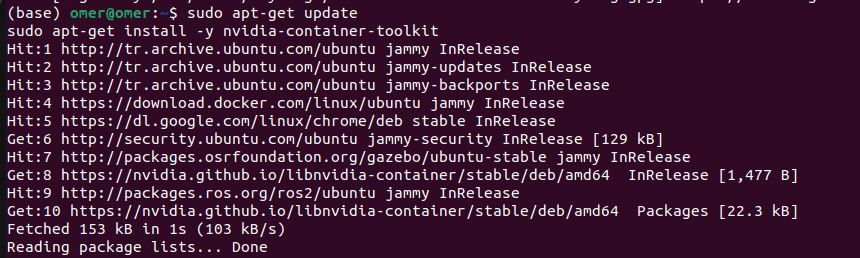
Install NVIDIA Container Toolkit
This step might take time depending on your connection.
Now, restart the Docker:
sudo systemctl restart docker4. Run the GPU-supported TensorFlow Container
Okay, now we need to pull the TensorFlow image. I recommend you stick with the stable version instead of using the latest tag. I used TensorFlow 2.15.0, and I didn't face any issues.
docker pull tensorflow/tensorflow:2.15.0-gpu
Pull tensorflow/tensorflow:2.15.0-gpu
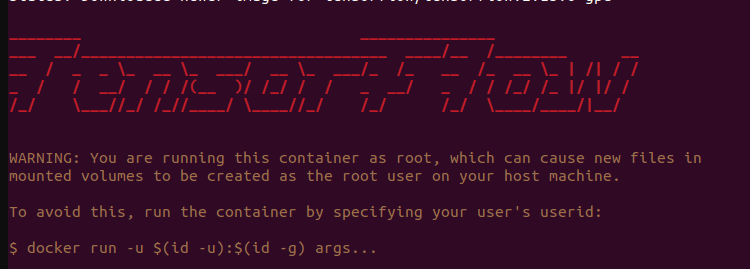
Now lets run the container to see if everything okay
docker run --gpus all -it --rm tensorflow/tensorflow:2.15.0-gpu bash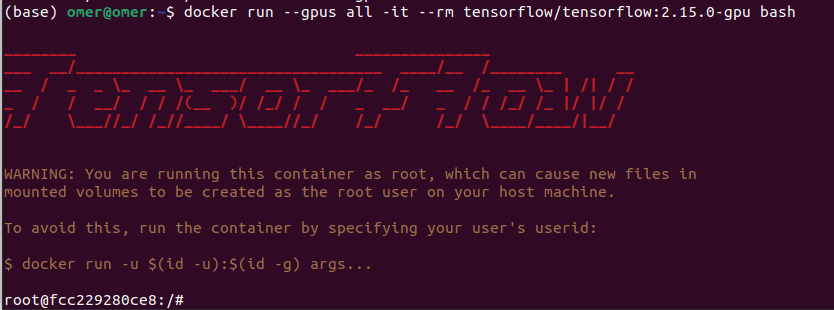
TensorFlow with GPU support
Now, we can test if TensorFlow is GPU-supported. First, import TensorFlow, then use the list_physical_devices and is_gpu_available functions to see if GPU is available.
python3 -c "import tensorflow as tf; print(tf.config.list_physical_devices('GPU'))
print(tf.test.is_gpu_available())"
Output:
- Created device /device:GPU:0 with 4620 MB memory: -> device: 0, name: NVIDIA GeForce GTX 1660 Ti with Max-Q Design, pci bus id: 0000:01:00.0, compute capability: 7.5
Okay, everything works, but until now, we have only used the terminal. It is good for testing, but what about if we have hundreds of files? This is not efficient. To solve this, I will show you how you can create a workspace. Now, we will write our code to the Python files and run it from inside the Docker container.
5. Create a Workspace
Now, you need to create few files.
-
Dockerfile
-
requirements.txt
-
Python files
You can use following lines:
mkdir tensorflow-workspace
cd tensorflow-workspace
touch Dockerfile requirements.txt test.py
Let's start with Dockerfile. I explained all the lines with comment lines; I hope it makes sense.
# Use the official TensorFlow GPU image (Version 2.15.0 for stability)
FROM tensorflow/tensorflow:2.15.0-gpu

# Set the working directory inside the container
WORKDIR /app

# Copy requirements file
COPY requirements.txt .

# Install additional Python packages
RUN pip install -r requirements.txt

# Copy the rest of your local project files
COPY . .

# Define the default command to run when the container starts
CMD ["python3", "test.py"]
The requirements.txt file contains all the libraries that are needed when running the code. For this demo, I only added pandas to show you, but you can add as many libraries as you want. Just pay attention to versions so that you don't have any compatibility issues.
pandas
Now, inside test.py, you can copy your Python code. I simply write a code to import Tensorflow, check the GPU, and perform multiplication on two matrices.
import os
# Suppress TensorFlow info and warning logs
os.environ['TF_CPP_MIN_LOG_LEVEL'] = '2'

import tensorflow as tf
import sys

def check_gpu():
    print("\n--- TensorFlow GPU Check ---")
    print(f"TensorFlow Version: {tf.__version__}")
    print(f"Python Version: {sys.version.split()[0]}")

    # Get the list of physical GPUs
    gpus = tf.config.list_physical_devices('GPU')
    print(f"GPUs Available: {len(gpus)}")

    if len(gpus) > 0:
        for i, gpu in enumerate(gpus):
            print(f"  Device {i}: {gpu.device_type} - {gpu.name}")

        # Test a simple computation on the GPU
        print("\nTesting GPU with a tensor operation...")
        try:
            with tf.device('/GPU:0'):
                a = tf.constant([[1.0, 2.0, 3.0], [4.0, 5.0, 6.0]])
                b = tf.constant([[1.0, 2.0], [3.0, 4.0], [5.0, 6.0]])
                c = tf.matmul(a, b)
                print(f"Test tensor output:\n{c}")
                print("\n[SUCCESS] TensorFlow is correctly using the GPU.")
        except RuntimeError as e:
            print(f"\n[ERROR] {e}")
    else:
        print("\n[Warning] TensorFlow cannot detect a GPU. Running on CPU instead.")

if __name__ == "__main__":
    check_gpu()
Okay, now let's build the container and run:
docker build -t my-tf-gpu-app .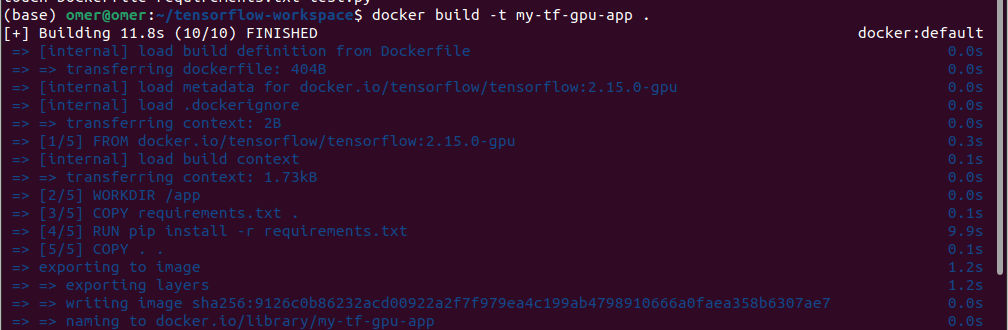
Build the Docker Image
Now, lets run the container:
docker run --gpus all --rm my-tf-gpu-app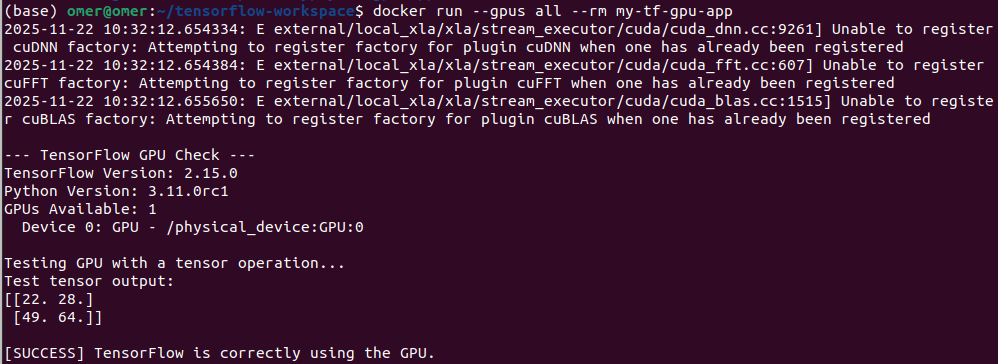
GPU-supported TensorFlow Environment in Docker
And it is done. You might get errors in some parts, feel free to ask me any questions. My email address is → siromermer@gmail.com
See you sooooon :)