→ How to create a GPU-supported PyTorch environment using both Anaconda and Python's virtual environments.
There are servers that have GPUs like Kaggle and Google Colab, but even though they seem like these servers are completely free, there are restrictions: usage limits, server errors, lack of data storage, and more. If you have an Nvidia GPU, you can create a GPU-supported PyTorch environment and use your GPU for training deep learning models or running models in real time without any limit, as long as you have electricity :)
Installation Guide for a GPU-Supported PyTorch Environment (image)
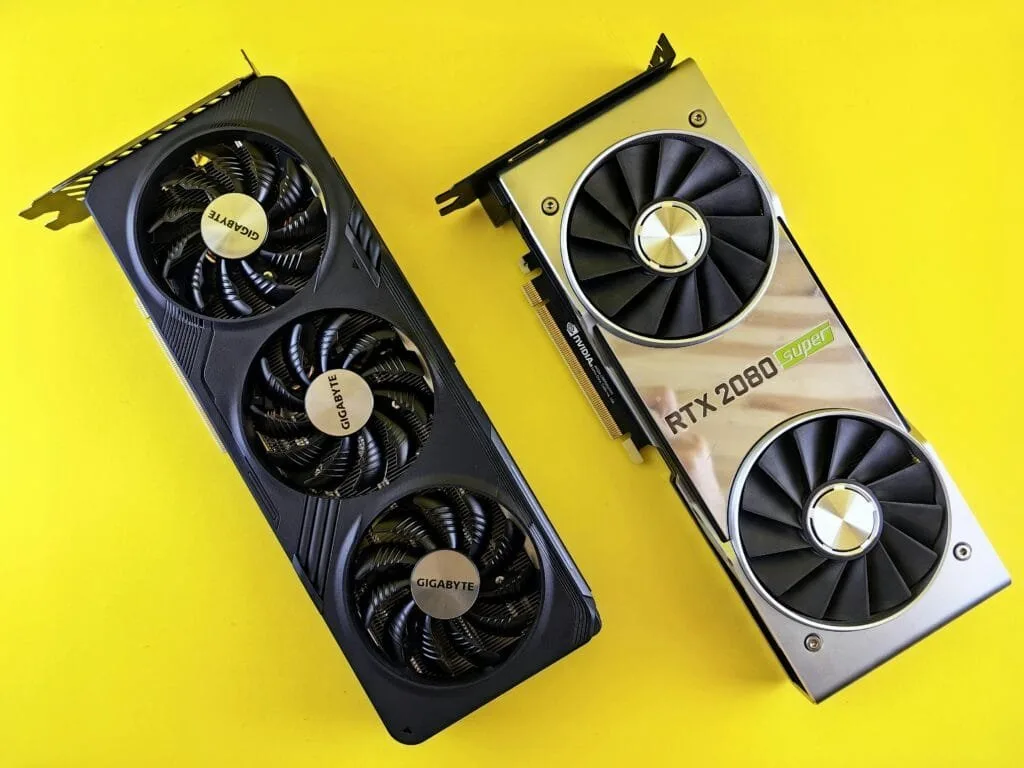
You only need an Nvidia GPU for following this article. It can be a GTX or RTX series, it doesn't matter.
In this article I will show you two different ways:
-
Creating a GPU-supported PyTorch environment with Miniconda
-
Creating a GPU-supported PyTorch environment with Python’s virtual environment (
venv)
If you want to train different models or test different deep learning models, I recommend you create a Miniconda environment. You only need to create one environment, and you can use it with different projects.
If you prefer the second option (venv), the first setup will be faster, but for each project, you need to create a different environment, and it might not be efficient for storage and time.
1. Creating a GPU-supported PyTorch environment with Miniconda
There are four main steps for a Miniconda environment:
-
Check GPU drivers
-
Install Miniconda
-
Create a Miniconda Environment
-
Install PyTorch with GPU support using pip
1.1 Check GPU drivers
This step is probably not necessary, because most of the time GPU drivers are already installed on your computer. You can check GPU drivers by typing **nvidia-smi** in the terminal.
nvidia-smiAs you can see from the images below, I ran this command with two different devices, and they both have different CUDA versions.
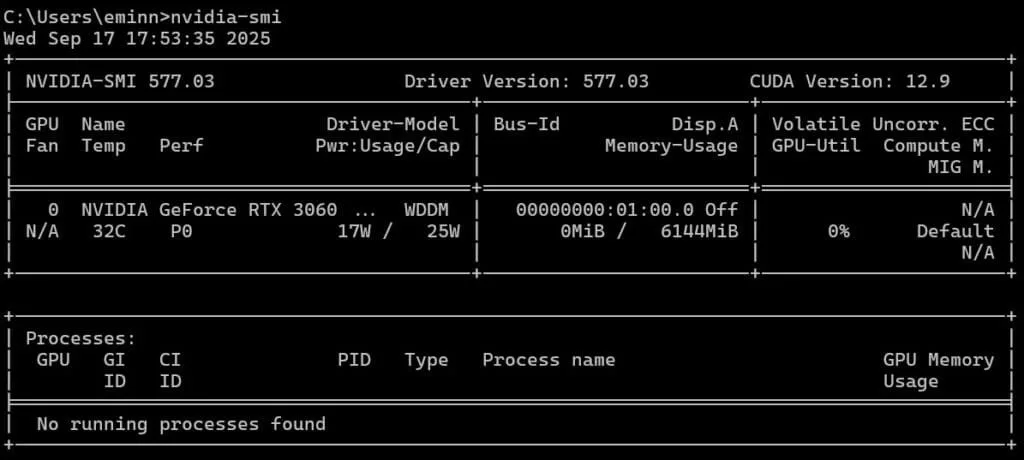
CUDA version 12.9 on a Laptop with an RTX 3060 GPU
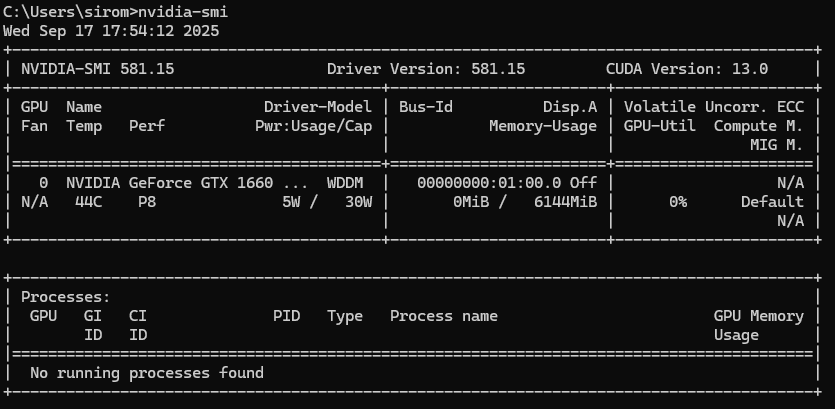
CUDA version 13.0 on a Laptop with an GTX 1660ti Max-Q GPU
If you get any errors you can install GPU drivers from Nvidia GeForce Experience(link). With a few clicks, you can install the drivers, and you don't need to pay attention to any version or anything else.
1.2 Install Miniconda
Miniconda is a light version of Anaconda. It allows you to create isolated environments. You can install Miniconda from this link; the executable (.exe) file is around 90 MB. Using isolated environments is a key step in programming, so even if you don't use it for creating a GPU-supported PyTorch environment, I strongly recommend you to use Miniconda.
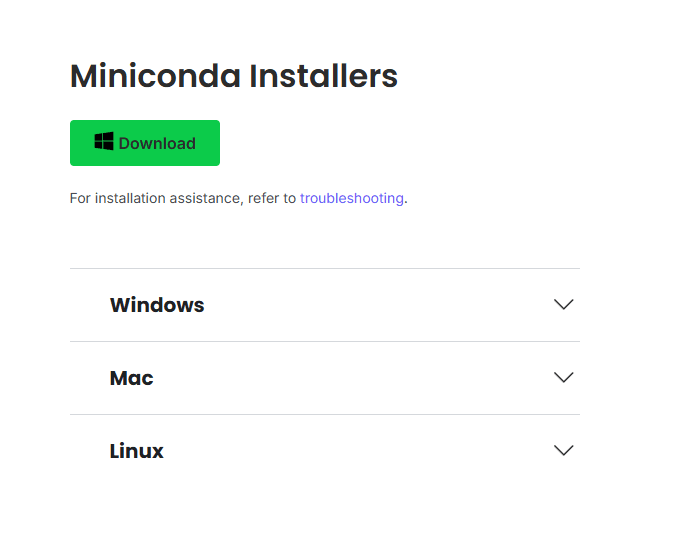
Installing Miniconda for creating a GPU-supported PyTorch environment
After the executable file is downloaded, open it. Accept the agreements, and when it asks if you want to add Miniconda to the PATH, uncheck it, because it might create a conflict with other installations.
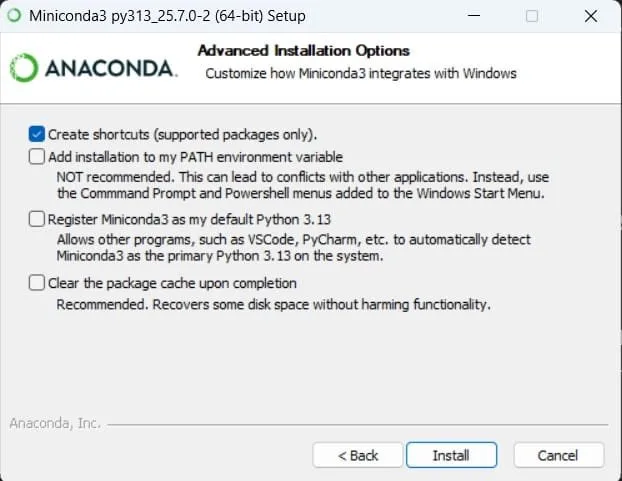
Installing Miniconda for creating a GPU-supported PyTorch environment
After the installation is finished, type Anaconda Prompt in your Windows search bar.
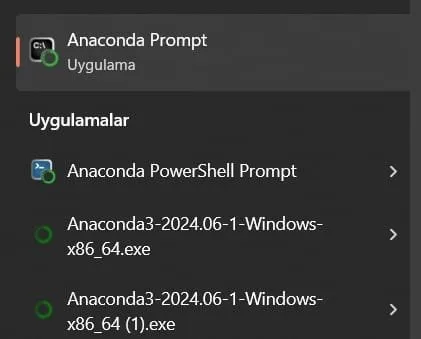
Anaconda for creating a GPU-supported PyTorch environment
1.3 Create Miniconda Environment
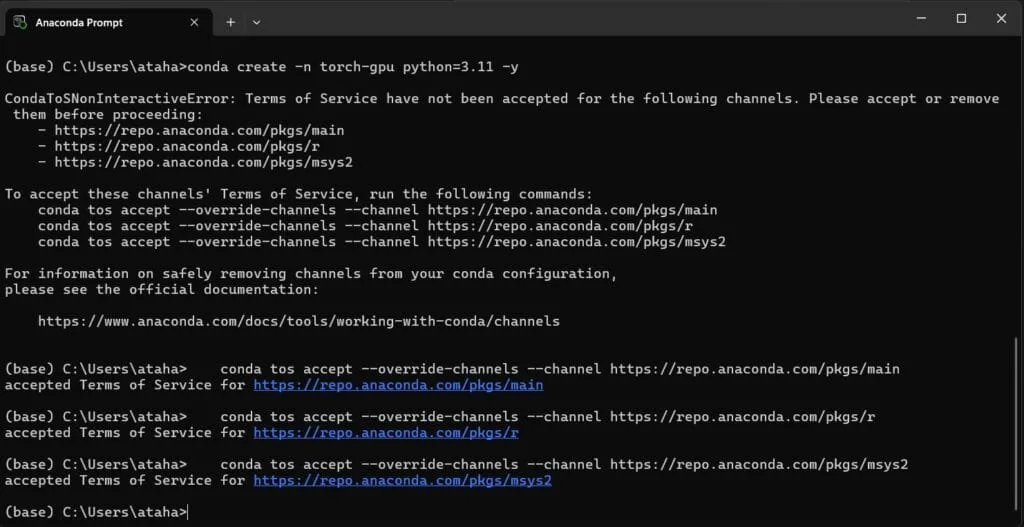
Now it is time to create an environment. You can name it whatever you want. I named it torch-gpu.
conda create -n torch-gpu python=3.11 -yWhen you first try to create an environment, you might see some warnings about licenses. Accept these agreements, and then try to create it again.
Create a GPU-supported PyTorch Miniconda Environment
When the installation is successfully finished, you should see some instructions about how to activate and deactivate the environment. Check the image below.
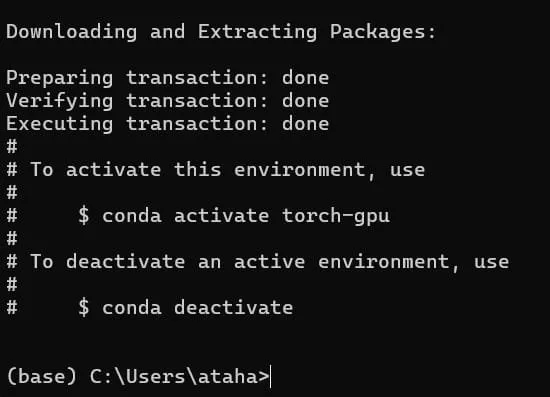
Create a GPU-supported PyTorch Miniconda Environment
Activate your Miniconda environment with conda activate your_env_name. We will install all the necessary libraries inside this environment.
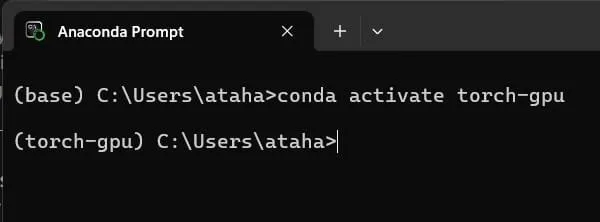
Activate Miniconda Environment from terminal
1.4 Install PyTorch with GPU support using pip
For different CUDA versions, you should install specific PyTorch versions.
You can check the website (link) of PyTorch to choose a specific version. If your CUDA version doesn't match any version on the website, it is not a problem; you can choose a version that is close to your CUDA version.
- For example, I have CUDA 12.5 on my computer, and I chose CUDA 12.6, and it worked.

Choosing the Compatible PyTorch Version for CUDA
Depending on your version, you’ll see a command similar to one of the following:
pip3 install torch torchvision --index-url https://download.pytorch.org/whl/cu126

pip3 install torch torchvision --index-url https://download.pytorch.org/whl/cu128

pip3 install torch torchvision --index-url https://download.pytorch.org/whl/cu130
It might take some time depending on your connection, but in the end, your terminal should look like the image below.
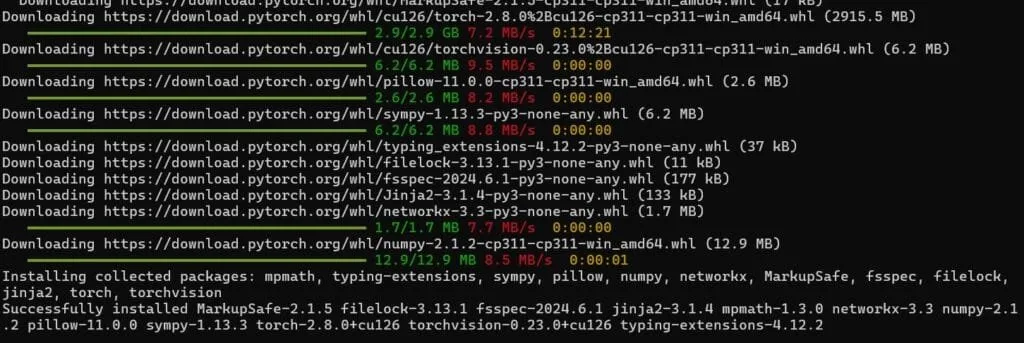
Install PyTorch with GPU support for faster training and real-time performance (CUDA)
Now, lets check if GPU is available. Create a new Python file and copy the following code.
import torch

print(torch._version_)
print(torch.cuda.is_available()) # output must be True
Activate your environment, and then run the Python file. If the GPU is available, you should see True in the terminal.
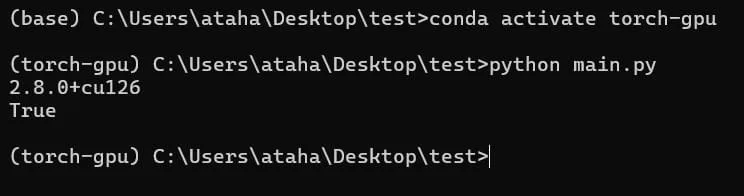
Check if GPU is available (PyTorch)
Or you can directly check it from the terminal. Look at the image below.
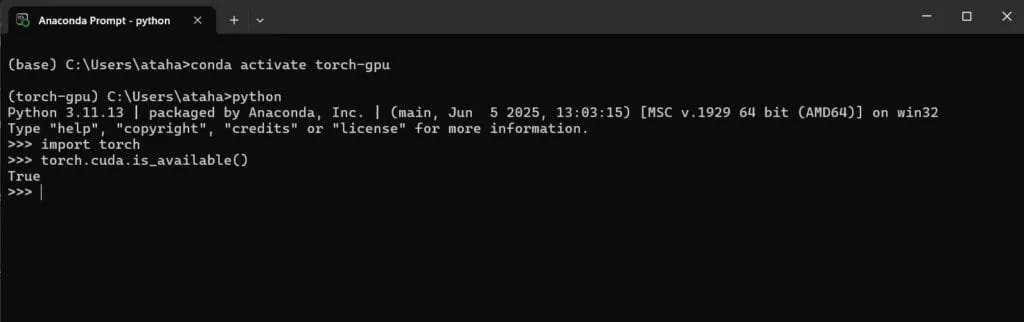
Output of torch.cuda.is_available() is True, it means GPU is available
Okay, the GPU is available; now you can train different deep learning models or run models in real time.
2. Creating a GPU-supported PyTorch environment with Python’s virtual environment (venv)
Okay, now we will create a virtual environment. The steps are similar.
-
Create a .venv
-
Install PyTorch with GPU support using pip
2.1) Create a virtual environment using the following command:
python -m venv .venvActivate the virtual environment:
.\.venv\Scripts\Activate.ps1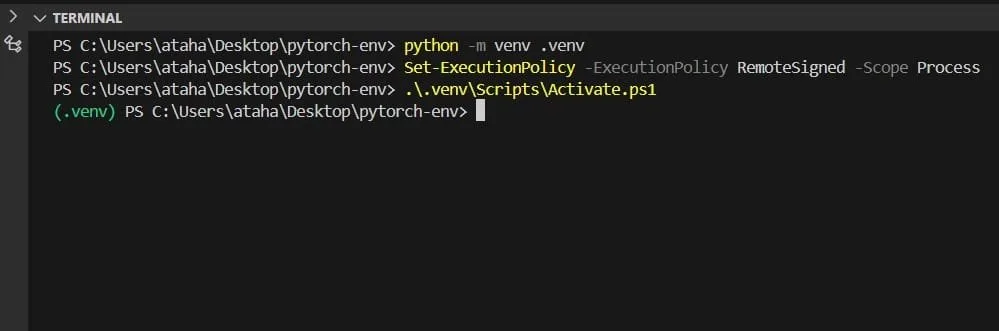
Create GPU supported Python Environment (PyTorch)
2.2) Then, install PyTorch just like before (step 1.4) with pip. Don't forget to choose a specific version from the PyTorch website.
pip3 install torch torchvision --index-url https://download.pytorch.org/whl/cu126You can test if the GPU is available like in step 1.4, and you can see the image below.

You can use any method; in the end, both methods will work like the other one. After you have created an environment, you only need to activate it. You can train models, run models on video streams; anything that GPU power is important